Yes, this is a yet another file transfer application. However, we did not build this application to intentionally re-invent the wheel but rather because the lack of application where you get stuck in an unfortunate scenario.
So you wanted to copy a file from one computer to another BUT WAIT!!!
Yup, if you've been there then we've definitely been there which is why we made this light-weight, portable, and dirty file transfer prototype. To make it portable, we developed a Windows and Java version. So you are required to install Java if you will use the Java version or you should have .Net Framework when using the Windows version (Windows 10 has it by default).
Both versions of the app can work together so it doesn't matter if one of the computer uses the Java version and the other computer uses Windows.
This project is created under Creative Commons license. You are allowed to use and distribute the software for free but not allowed to use it for commercial purposes. If you are a developer, you are free to fork and modify our source code.
The usage of both Java and Windows version is similar. The only difference is you don't need a command to execute a program in Windows (you just run the executable file).
| Step | What you need to do |
|---|---|
| 1 | Extract the zip file. The zip file contains two JAR (Java Archive) or EXE (executable) files. Don't worry, no installation needs to be done. The JAR files are executable as is but through the command line. The EXE files are executable as well which you can simply run like how you normally run apps in Windows. We didn't had time to make this app user-friendly by using eye-candy user interface. We wanted this app to be done as fast as possible and to be used as fast as possible. |
| 2 | Copy FileTransferServer.jar or FileTransferServer.exe to a server directory. The server is where a client can download files from the server directory or where the client can upload files to the server Directory. Technically, whatever files that is in the server directory is accessible to the client. The server Directory is just any directory in your computer. We just called it server directory because its where the FileTransferServer.jar or FileTransferServer.exe file will reside. |
| 3 | Copy FileTransferClient.jar or FileTransferClient.exe to a client directory. The client is used to pull files from the server or upload files to server. All downloaded files will be saved in the client directory. Moreover, all files in the client directory can be uploaded to the server. |
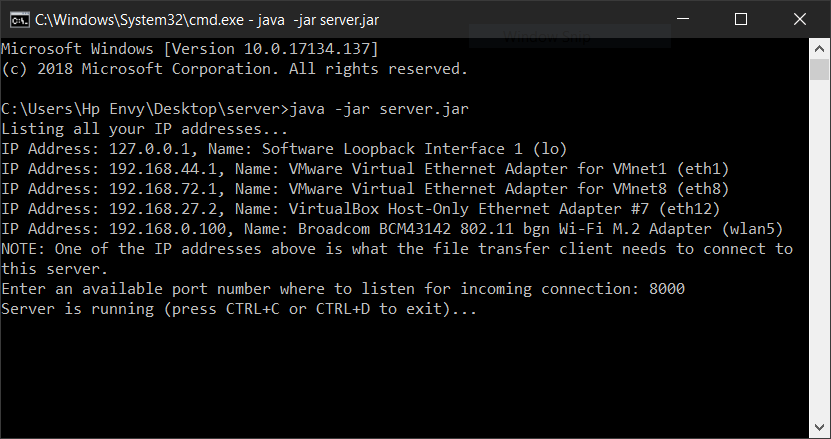
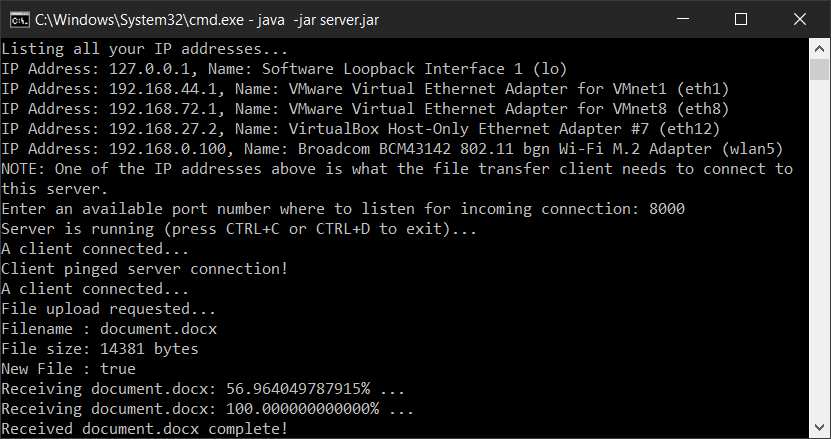
| 4 | Run FileTransferServer.jar or FileTransferServer.exe. For the Java version, you'll need to open a terminal window in the server directory. Run the server using the java -jar FileTransferServer.jar command. Provide an available port number and if successful the server waits for an incoming connection. Do note that when running the server it provides a list of IP addresses of the server. You'll have to pick the right IP address that came from your network router. |
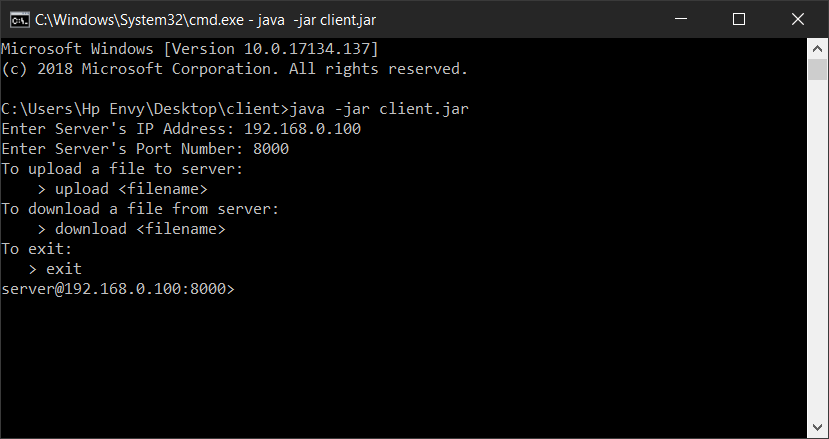
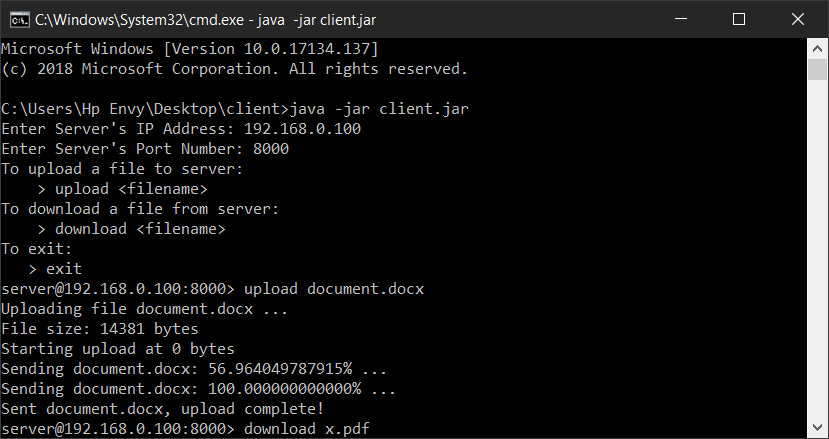
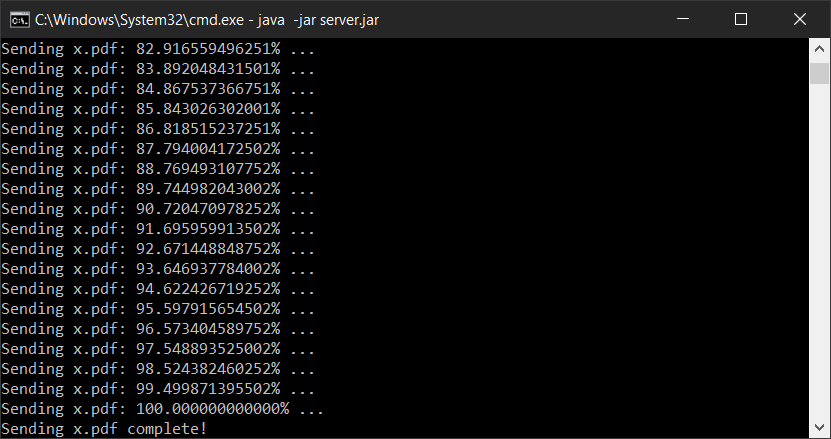
| 5 | Run FileTransferClient.jar or FileTransferClient.exe. For the Java version, you'll need another terminal window in the client directory. Run the client using the java -jar FileTransferClient.jar. Provide the Server's IP address and the port number which you entered when you ran the server. To download a file from server, execute the command download [filename]. On the other hand, to upload a file to the server, execute the command upload [filename]. |
Right, we don't want to hear you complaining about how bad and plain the user interface was done. We didn't care and had much time planning how good looking it is, but we cared more about how easy and useful it is. If you think you can do better, we have the source code open and free for use and modification. Just don't forget to link back to the original work.

Did you know that sometimes transferring files is faster via the Internet rather than through a local network? Well yeah it normally happens especially if you are connected through WiFi (Wired connection is another story). The speed of file transfer through a local network is very much dependent on the router model and the activities that is happening in it. For example, most people connected in the router performs more download rather than upload. Therefore download bandwidth is distributed and results to slower transfer rate than upload.

FileTransferApp
by
it2051229 is licensed under a Creative Commons Attribution-NonCommercial 4.0 International License.
Based on a work at https://github.com/it2051229/FileTransferApp.
This is a non-profit project organized, developed, and maintained by...